bob@nbdho.com
Step-by-Step Guide to Custom Desk Calendar Orders: From Design to Delivery
📆 Step-by-Step Guide to Custom Desk Calendar Orders: From Design to Delivery
Ordering custom desk calendars is an excellent way to promote your brand, strengthen client relationships, or offer practical and stylish corporate gifts. Whether you’re a business, organization, or wholesaler, understanding the full ordering process ensures smoother communication, better results, and faster delivery.
This step-by-step guide walks you through everything—from choosing the right specifications to final shipment.
✅ Step 1: Define Your Objective and Quantity
Before diving into design or formats, ask yourself:
-
What is the calendar for? (e.g., branding, gifting, resale, event marketing)
-
Who is the target audience? (e.g., employees, customers, partners)
-
How many pieces do you need? (Minimum order quantities vary by supplier)
📌 Tip: Higher quantities often lower the per-unit price significantly due to economies of scale.
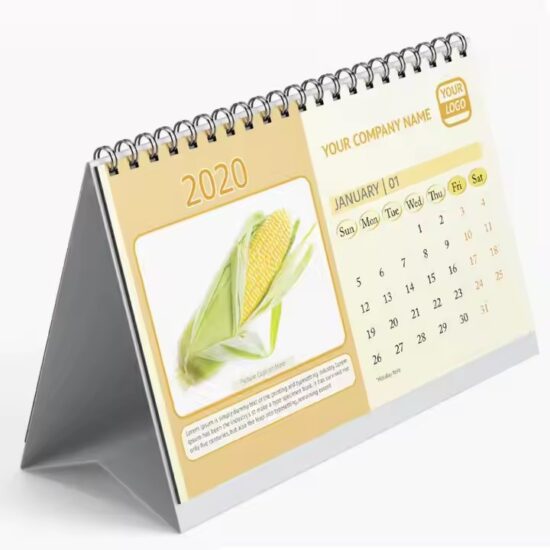
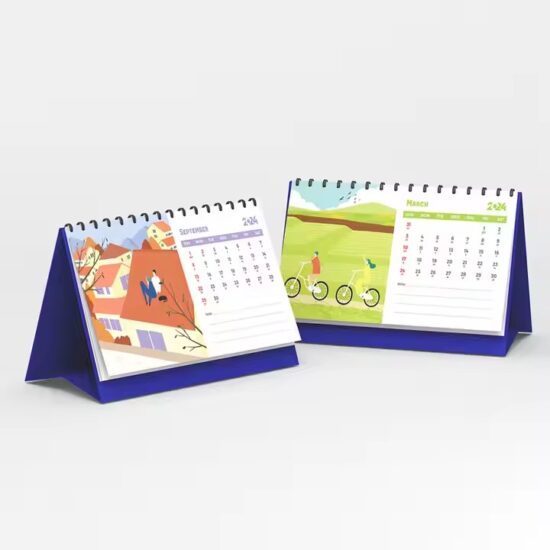
🧾 Step 2: Choose Calendar Specifications
🔸 Popular Options Include:
-
Size: A5, A6, square, tent-style, or custom
-
Binding: Wire-O, spiral, saddle-stitched
-
Cover: Hardcover, softcover, eco-friendly options
-
Base: Cardboard, greyboard, wood, kraft board
-
Pages: 12-month view, monthly pages with notes, photo pages, etc.
-
Printing: Full-color CMYK, Pantone, black & white
🎨 Custom features like foil stamping, embossing, QR codes, or perforation lines are also possible.
🖌️ Step 3: Prepare or Request a Design
You have two main options:
-
Option A: Provide your own design files (usually in AI, PSD, or PDF format)
-
Option B: Request design assistance from the manufacturer (often free or low-cost)
Be sure to:
-
Use correct bleed and safe margins
-
Embed or outline all fonts
-
Include holidays, branding, and company details
💡 Many suppliers offer editable templates to make your design process easier.
📤 Step 4: Submit Design & Get a Digital Proof
After sending your artwork, the manufacturer will provide a digital proof (PDF or mock-up image) for approval. Double-check:
-
Spelling and grammar
-
Logo placement
-
Dates and holidays
-
Color matching (especially if using Pantone)
You may also request a physical sample (extra cost and time) for important orders.
🏭 Step 5: Production
Once the proof is approved, production begins. This typically includes:
-
Printing (offset or digital)
-
Binding and finishing
-
Base assembly and packaging
🕒 Production Time: 5–15 working days, depending on quantity and complexity.
⚠️ Plan ahead—larger orders or peak season (Sept–Dec) may extend lead times.
📦 Step 6: Packaging & Delivery
Most suppliers offer a range of packaging options:
-
Bulk packaging
-
Individual OPP bags
-
Custom printed boxes
Shipping methods:
-
Air express (fast, costly): 3–7 days
-
Sea freight (economical): 15–40 days
-
Door-to-door logistics (DDP available from many suppliers)
✅ Tip: Choose DDP (Delivered Duty Paid) if you want the supplier to handle customs and taxes.
📃 Optional Step: Add-on Services
You can often request additional services such as:
-
Barcode printing for retail
-
Shrink wrapping
-
Gift card insertion
-
Drop shipping directly to clients
🧠 Final Tips for a Smooth Calendar Order
-
Start early, especially before Q4
-
Ask for samples if unsure about quality
-
Clearly communicate your expectations and deadlines
-
Confirm file formats and specs with the supplier before designing
🚀 Ready to Place an Order?
A professional supplier will support you through every step—from idea to delivery. Whether you need 500 or 50,000 custom desk calendars, being organized and clear from the start makes all the difference.
If you’re looking for reliable manufacturing support, design assistance, or eco-friendly options, get in touch with our team today!